

The following is a guide that covers how to set up your new Julio CMMS component on your Joomla! site. Here you can find an overview of the files included in the Julio CMMS release and instructions on installing and activating the component in your Joomla! install.
Note: The Component Install is only necessary if you did not use the 2JC Combined Pack. If you did, then Julio CMMS is already installed with Joomla.
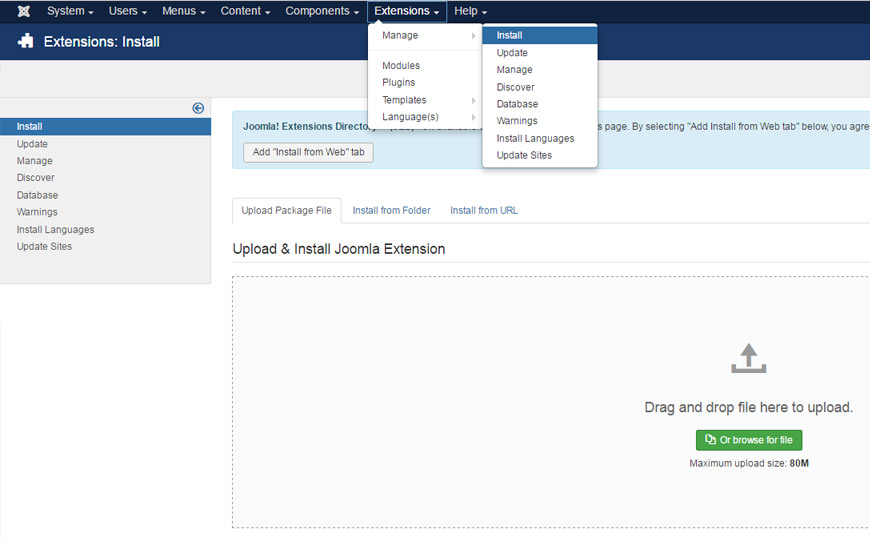
Step 1 - Installation
- Install from Admin → Extensions → Extensions Manager
- Browse for JulioCMMS.zip and click Upload & Install or drag and drop the file onto the area.
Step 2 - Scheduler Setup
To run effectively, Julio CMMS regularly checks for emails, ready PM's, notifications,etc. To achieve this on the server a particular script has to be run at regular intervals. 3 Ways to achieve this:
- Manually run the page at ~index.php?option=com_jcmms&task=cronservant.runchronos from your browser.
- Setup a client scheduled task that executes that page at regular intervals.
- Most Effective: Set up a Cron Job on the server.
Most web hosting services come loaded with cron job feature. Setup a cronjob that runs a web page; point it to: ~index.php?option=com_jcmms&task=cronservant.runchronos.
For Example if you are running with cPanel, a typical setup will be something like:
/usr/bin/curl --user-agent cPanel-Cron 'http://yoursite.com/index.php?option=com_jcmms&task=cronservant.runchronos'>/dev/null 2>&1
In most cases if you replace 'yoursite.com' with your own real website address, it will work perfectly well. But just in case it does not work, let your web hosting support team help you. Cron job is a very easy thing to setup. There are abundant resources on the web on that. So you can get the one that suits your environment.
Do not set the time interval too large! If you set it to 72 hours for example, it means you would not get next alerts till after 72 hours (3 days). So all notifications due later today and tomorrow will never make it to the board until next tomorrow. Something like 10 minutes or 30 minutes is OK.
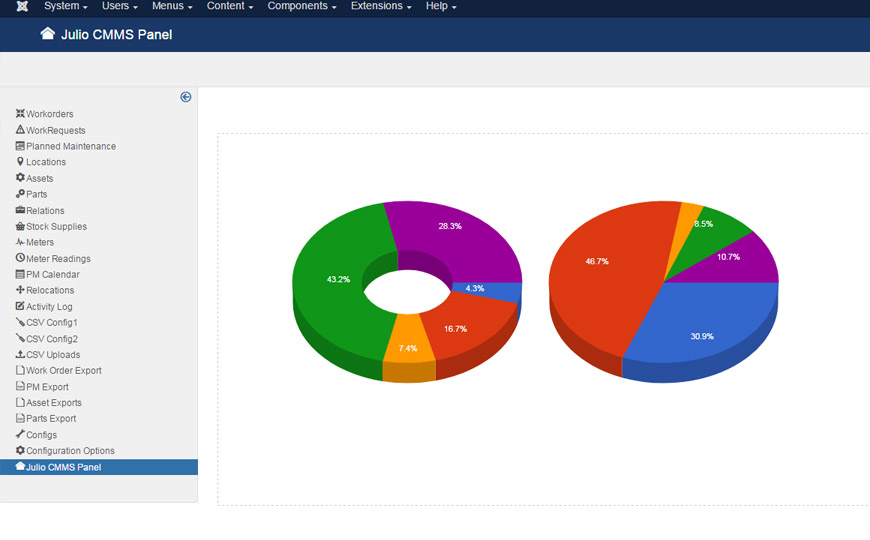
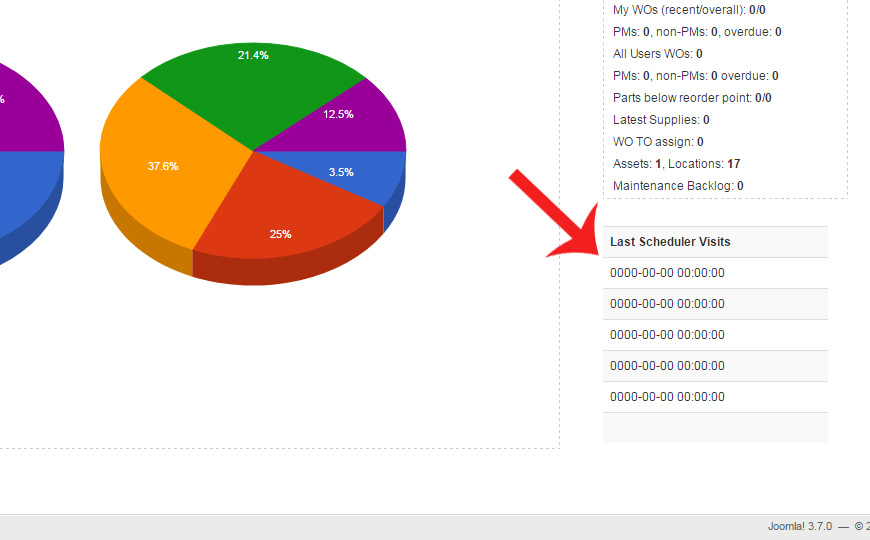
The last 5 Scheduler visits time shows on the Julio CMMS Panel. With that you could check your success.
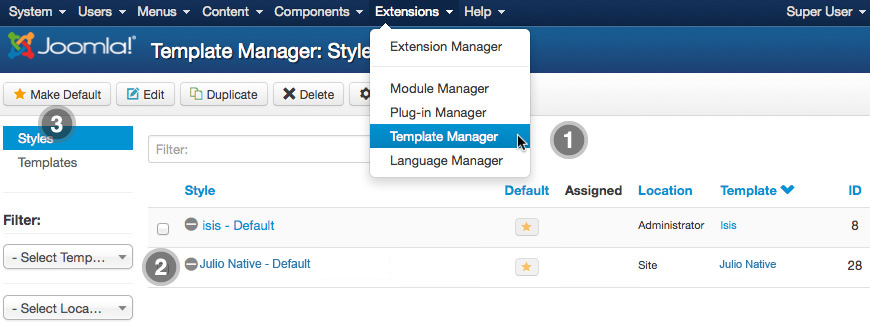
Install Template
Note: After the installation above, you are ready to implement your scheme at the backend. To do same at the front end, you have to create the front end menus. You can use Joomla frontend templates or install new ones. JulioCMMS ships with a template. You may install and use it, make your own or get/buy one from anywhere. There are thousands of Joomla templates on the web. How to install them is basically the same. To learn how to install a template, read this.
Installing with 2JC Pack
If you are installing with the Julio CMMS for Joomla! Combined Pack, then take the following steps. It must be installed as new, and not over an existing Joomla install. So don't try uploading it as a Joomla extension as you did with the ones above.
Step 1 - Upload
- Download the 2JC zip file
- Unzip the file
- Upload the created folder to your server
Note: You can upload all the files via FTP, or use cPanel or SSH to upload the zip and unzip directly onto the server. Enquire with your hosting provider.
Step 2 - Installation
- Go to www.yoursite.com/*folder name*
- Follow the Installation instructions
- Remove the installation folder in the Installation interface